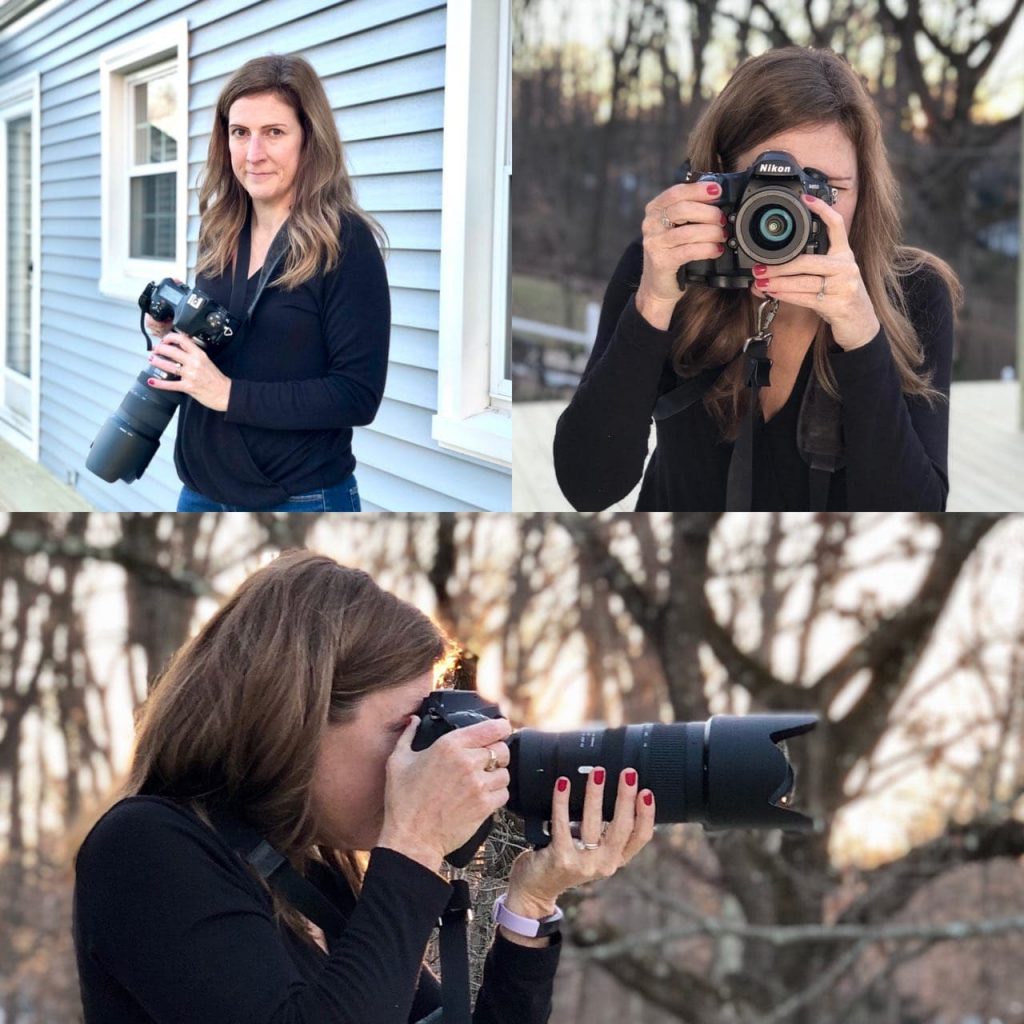
When stock photos won’t cut it and hiring a professional photographer isn’t in the cards you can promote your reflexology practice by taking the photos yourself!
This is a guest post by photography coach Jennifer Daniele of Everyday Snapshots.

Getting pictures of you and your business takes some planning and a little bit of time. Here’s your step-by-step plan for taking pictures of YOU AND YOUR Business. Take this plan, make it your own – and if you have questions, email me at jennifer@everydaysnapshots.com.
I know a lot of people don’t like taking pictures of themselves and don’t want to have their pictures taken, but with your business, you need them! So, get over it and get going, so you can help more people with your reflexology. Here’s a plan to get you images you need. Do it once, and then next time you do a shoot like this, it’ll be even better!
Goal: 20 images that you can use to market your business
Before the Shoot Setup:
- You, a willing photo taker, your camera – phones are fine!
- This is much easier if you can recruit someone to take the pictures, but if you can’t just get a tripod for your camera. There are $15 phone tripods at Wal-Mart & Target! Then use the Self Timer on your camera to get yourself in the shots.
- Choose 3 outfits.
- Try to use as much natural light as you can. Look for a spot that is in the shade if you are outside. Or, if you are inside, look for light that is coming through a curtain or ambiently coming into the room (not light that is directly shining into the room).
Photo Shoot Plan:
- Pictures of your sign – Take two directly straight on, everything parallel, then take two from one side, and then the other, so you are at an angle to the sign.
- Pictures of you – these four poses in each outfit. Set up your tripod, self timer, and go to work! Take at least three shots in each pose.
- Pose 1: Sitting in a chair leaning forward looking at the camera.
- Pose 2: Sitting on the ground in front of your front door, one leg bent toward you, other leg wrapped around looking at the camera.
- Pose 3: Standing with hands loosely in pockets looking at the camera.
- Pose 4: Straddle a chair backward and rest your arms on the top of it looking at the camera.
- Unique perspective picture of toes. This is a picture from the floor, looking up at the table with little toes peeking over the edge of the. Set up: your subject lays face down on the table, and pushes just their toes over. Then you lay on the floor with your camera and shoot directly up.
- Picture of you working on someone, place the focus on the person’s feet and only get the back of you.
- Close up picture of only your hands and your client’s feet.
- Picture of the “Front Desk” whatever that may be. Be careful with this one. Get a ladder or climb on top of the desk and take a picture of you or your staff booking an appointment.
Finishing touches
Once you have taken all the pictures. Edit them on your phone to brighten them up.
- Use the magic wand if your phone has that.
- Otherwise, use the various sliders to lighten the pics.
With that, you are done! It may seem daunting at first, but if you just take one step after another, you’ll have 20 images that you can use to promote your business.
If you’d like to learn more about photography whether it’s taking pictures with your phone or a “good” camera. Check out my Instagram: https://www.instagram.com/everydaysnapshots365/
Take your pictures and tag me at #everdaysnapshots!
[lepopup slug=’5-free-graphics-inline’]
Business is Closing
Thanks for your support. Website content is available until March 15, 2022. Please disregard any mentions of the More Feet Club, the email list, or other paid services.